So you’ve got a rip in your favorite pair of pants, and you’re thinking, “Do I really need to spend money on this? Can’t I just fix it myself?” Well, guess what? You totally can! Sewing a rip in pants by hand is not only super easy but also a skill that’ll save you loads of cash in the long run. Whether you’re a beginner or just need a quick refresher, we’ve got you covered. Let’s dive into how to sew a rip in pants by hand without making it look like a DIY disaster!
Let’s be real—accidents happen. Whether it’s catching your pants on a nail, sitting too close to a sharp edge, or simply wearing them out over time, rips are bound to happen. But before you toss those jeans or chinos, take a deep breath and grab a needle and thread. With a little patience and the right technique, you can fix that tear and make your pants look as good as new.
Now, if you’re thinking, “But I’ve never sewn anything in my life!” don’t sweat it. This guide is designed for absolute beginners, so even if you’ve never held a needle, you’ll walk away feeling like a pro. Let’s get started and turn that ripped-up pair of pants into something you’ll be proud to wear again!
Read also:Antonio Brown Zodiac Sign Unveiling The Star Power Behind The Nfl Legend
Table of Contents
- Tools You’ll Need
- Preparing Your Pants for Repair
- Choosing the Right Thread
- Basic Sewing Techniques
- Step-by-Step Guide to Sew a Rip
- Achieving an Invisible Repair
- Pro Tips for Sewing Rips
- Alternative Methods for Fixing Rips
- Common Mistakes to Avoid
- Frequently Asked Questions
Tools You’ll Need
Before we dive into the nitty-gritty of sewing a rip in pants by hand, let’s talk about the tools you’ll need. No need to go overboard with fancy equipment—just a few basics will do the trick. Here’s what you’ll need:
- A needle (a small, sharp one works best)
- Thread (matching the color of your pants)
- Scissors (for cutting thread)
- A thimble (optional, but helpful for pushing the needle)
- Pin (to hold the fabric in place)
And that’s it! You don’t need a sewing machine or any other complicated gadgets. Just these simple tools and a bit of determination will get the job done.
Where to Get These Tools?
You can find all these tools at your local craft store or even online. Amazon, Etsy, or Walmart are great places to start. If you’re on a budget, don’t worry—most of these items are super affordable and will last you a long time.
Preparing Your Pants for Repair
Alright, so you’ve gathered your tools. Now it’s time to prep your pants for repair. This step is crucial because it ensures that your repair job will be neat and long-lasting. Here’s what you need to do:
First things first, turn your pants inside out. This will make it easier to sew the rip without worrying about the stitches showing on the outside. Next, gently smooth out the fabric around the rip. If there are any loose threads, trim them with scissors to prevent them from getting tangled later.
Why Prep Matters
Preparing your pants properly is like laying a solid foundation for a house. If you skip this step, your repair might not hold up as well, and you’ll end up with a wonky-looking seam. So take the time to do it right—it’ll pay off in the end!
Read also:Travis Scotts New Girlfriend The Story You Didnrsquot Know
Choosing the Right Thread
Selecting the right thread is key to making your repair blend seamlessly with the rest of your pants. You want the thread to match the color and texture of the fabric as closely as possible. If you’re unsure, it’s always better to go with a thread that’s slightly darker than the fabric—it’ll be less noticeable if it doesn’t match perfectly.
Pro tip: If you’re working with denim, consider using a polyester thread instead of cotton. Polyester is stronger and more durable, which is perfect for fixing rips in jeans.
How to Match Thread Colors
Not sure how to match thread colors? Here’s a quick trick: hold the thread up to the fabric in natural light. If it blends in, you’re good to go. If it stands out too much, try a different shade. And remember, it’s okay if it’s not a perfect match—no one will be inspecting your pants with a magnifying glass!
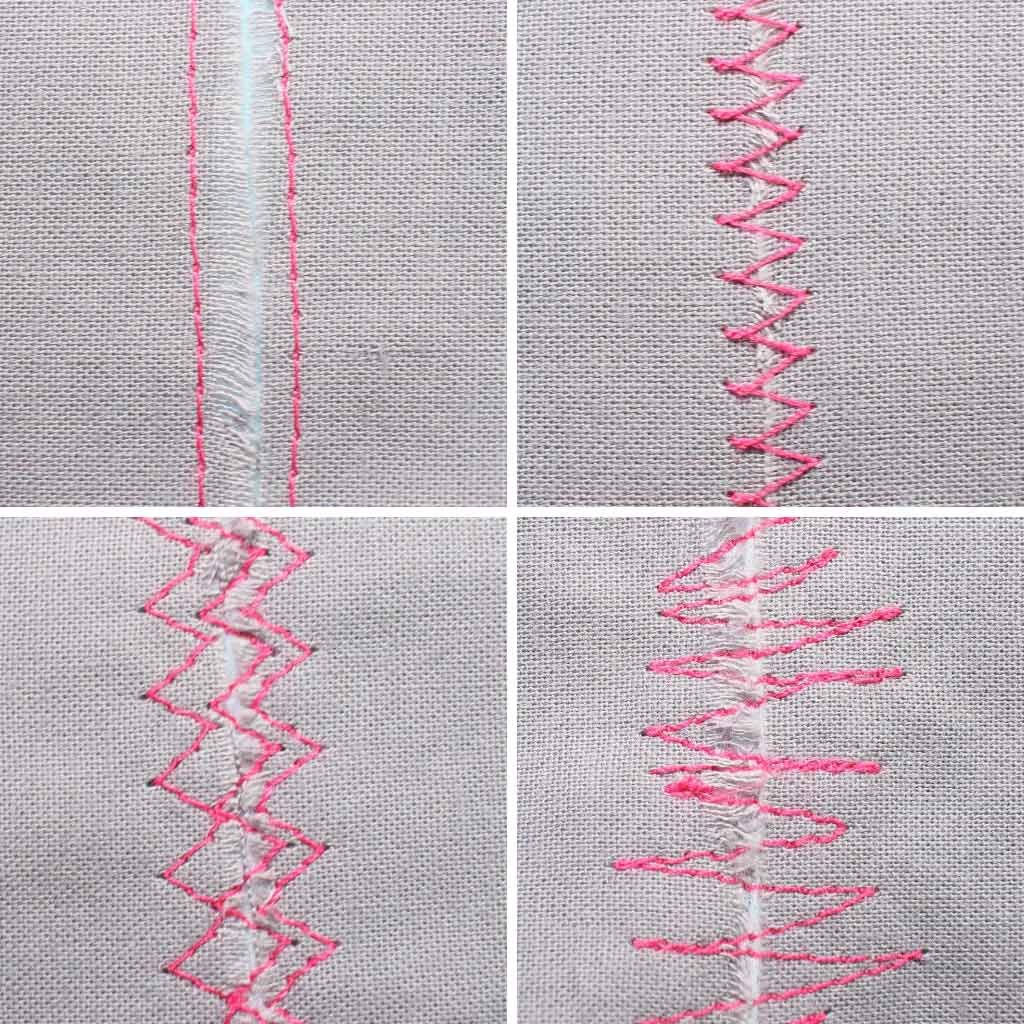
Basic Sewing Techniques
Now that you’ve got your tools and materials ready, it’s time to learn some basic sewing techniques. Don’t worry—these are super simple and easy to master. We’ll cover two main stitches: the backstitch and the whipstitch.
- Backstitch: This stitch is great for reinforcing seams and making your repair extra strong. It’s perfect for larger rips.
- Whipstitch: This stitch is ideal for smaller tears and edges. It’s quick and easy to do, making it perfect for beginners.
Let’s break down how to do each one:
How to Do a Backstitch
Start by threading your needle and tying a knot at the end of the thread. Then, insert the needle through the fabric from the back to the front. Next, bring the needle back through the fabric a short distance behind where you started. Repeat this process, overlapping each stitch slightly to create a strong, continuous line.
How to Do a Whipstitch
For the whipstitch, start by threading your needle and tying a knot. Then, insert the needle through the edge of the fabric from the back to the front. Bring the needle back through the fabric a short distance ahead, keeping the thread taut as you go. This creates a series of diagonal stitches that hold the fabric together.
Step-by-Step Guide to Sew a Rip
Now that you’ve got the basics down, let’s walk through the step-by-step process of sewing a rip in pants by hand. Follow these simple instructions, and you’ll have your pants looking good as new in no time!
- Turn your pants inside out and smooth out the fabric around the rip.
- Thread your needle with the appropriate color thread and tie a knot at the end.
- Decide which stitch you’ll use (backstitch for larger rips, whipstitch for smaller ones).
- Start sewing from the bottom of the rip, working your way up to the top.
- Once you’ve sewn the entire rip, tie off the thread with a knot and trim any excess.
- Turn your pants right side out and inspect your work. If everything looks good, you’re done!
Troubleshooting Common Issues
What if your stitches are too loose? Simply go back and reinforce them with another layer of stitching. If your thread keeps breaking, try using a stronger thread or a larger needle. And if your needle keeps bending, it might be too dull—grab a fresh one and try again.
Achieving an Invisible Repair
One of the biggest concerns people have when sewing a rip in pants by hand is whether the repair will be noticeable. The good news is that with a little practice, you can achieve an almost invisible repair. Here’s how:
First, make sure your stitches are small and even. Larger stitches are more likely to stand out, so take your time and keep them consistent. Second, use a thread that matches the color and texture of your fabric as closely as possible. And finally, practice your technique—practice makes perfect, after all!
Secret Trick for Invisible Repairs
Here’s a secret trick: before you start sewing, dampen the fabric slightly with a spray bottle. This will help the fabric lie flat and make your stitches easier to control. Plus, when the fabric dries, the stitches will blend in even better!
Pro Tips for Sewing Rips
Ready to level up your sewing skills? Here are a few pro tips to help you sew rips like a pro:
- Use a thimble to protect your fingers while pushing the needle through thick fabric.
- Pin the fabric in place before you start sewing to prevent it from shifting.
- Take breaks if you’re feeling frustrated—sewing should be fun, not stressful!
- Practice on scrap fabric first to get the hang of the stitches.
These tips might seem simple, but they can make a huge difference in the quality of your repair. Trust us, your future self will thank you!
Alternative Methods for Fixing Rips
Sometimes, sewing a rip by hand just isn’t an option—maybe you don’t have the right tools, or maybe the rip is too big to handle on your own. In those cases, there are alternative methods you can try:
- Fabric glue: A quick and easy fix for small tears. Just apply a small amount of fabric glue to the rip and let it dry.
- Iron-on patches: Perfect for larger rips or holes. Simply place the patch over the tear and iron it in place.
- Sewing machine: If you have access to a sewing machine, it can make the job go much faster and produce neater results.
While these alternatives might not be as permanent as hand sewing, they can still get the job done in a pinch.
Common Mistakes to Avoid
Even the best sewers make mistakes sometimes. Here are a few common pitfalls to watch out for when sewing a rip in pants by hand:
- Using the wrong thread color or type
- Making stitches too large or uneven
- Not tying off the thread properly
- Rushing the process and not paying attention to detail
By avoiding these mistakes, you’ll be well on your way to creating a repair that looks professional and lasts a long time.
Frequently Asked Questions
Got questions? We’ve got answers! Here are some of the most frequently asked questions about sewing rips in pants by hand:
Q: Can I sew a rip in pants without a needle?
A: While it’s possible to use fabric glue or an iron-on patch as alternatives, sewing with a needle and thread is still the most effective and long-lasting method.
Q: What if the rip is too big to sew by hand?
A: For larger rips, consider using a sewing machine or taking your pants to a professional tailor. They’ll have the tools and expertise to handle more complex repairs.
Q: How long does it take to sew a rip in pants by hand?
A: It depends on the size of the rip and your skill level, but most small tears can be fixed in under 15 minutes. Larger rips might take a bit longer, but with practice, you’ll get faster over time.
Q: Can I use any type of thread?
A: While you can technically use any type of thread, it’s best to choose one that matches the color and texture of your fabric. For denim, polyester thread is usually a better choice than cotton.
Conclusion
So there you have it—a comprehensive guide on how to sew a rip in pants by hand. Whether you’re a seasoned sewer or a total beginner, fixing your own pants is a skill that’ll save you time, money, and frustration in the long run. Remember to take your time, practice your technique, and don’t be afraid to ask for help if you need it.
Now that you’ve learned how to sew a rip in pants by hand, why not give it a try? Grab your favorite pair of pants, gather your tools, and get sewing. And don’t forget to share your success story in the comments below—we’d love to hear how it went!
Happy sewing, and remember: even the smallest repairs