So, you've got yourself a dry erase board, and it's starting to look like a crime scene with all those stubborn marker stains. Don’t worry; we’ve all been there. Whether it's permanent marker accidents or ghostly residue from regular dry erase markers, this guide will help you bring your board back to life.
Have you ever tried to clean your dry erase board only to find that the marker just won’t budge? It's frustrating, right? Well, the good news is, there’s a way to fix it. In this article, we’ll dive deep into the world of dry erase board maintenance and give you practical tips on how to get marker off your board without damaging it.
Our goal here is to make sure your board looks as good as new. We’ll cover everything from simple household remedies to professional cleaning products. Stick around, and you’ll be an expert in no time!
Read also:Ap9 And Coco Austin The Untold Story Behind The Scenes
Understanding the Problem: Why Does Marker Stay on a Dry Erase Board?
Let’s first break down why marker sometimes refuses to leave your dry erase board. The main culprit? Ghosting. Ghosting happens when the surface of the board gets worn out or when you use the wrong type of marker. Over time, the board can lose its non-porous properties, making it harder for markers to wipe off easily.
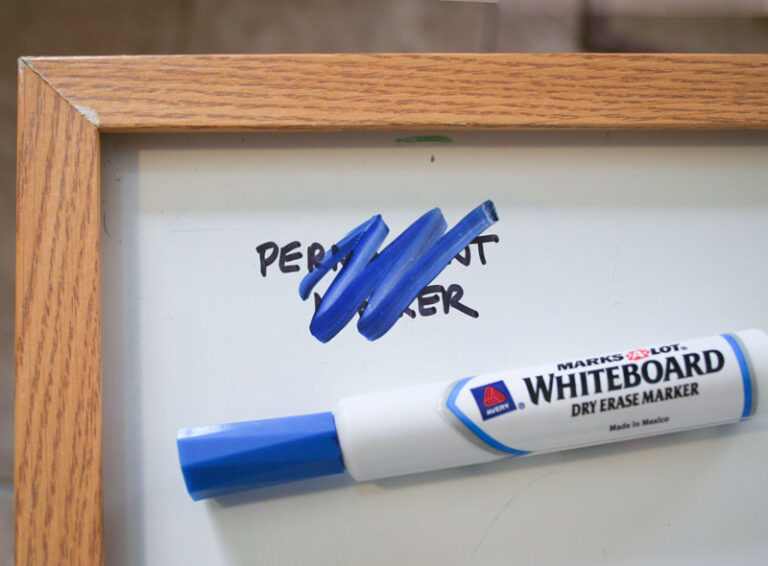
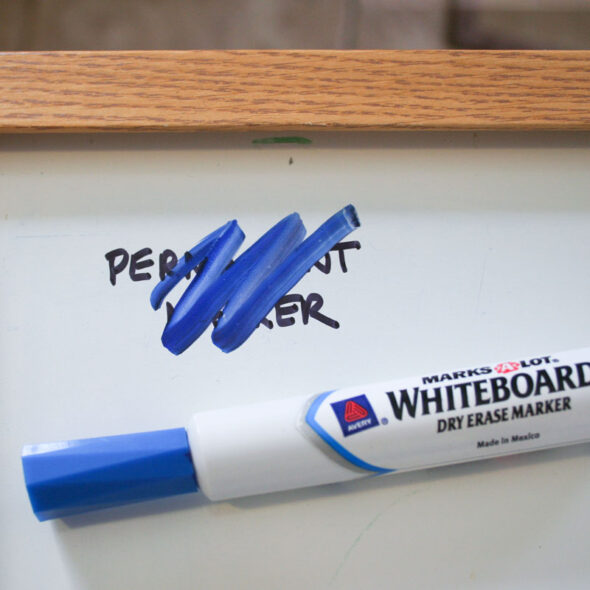
Another common issue is accidental use of permanent markers. Permanent markers are designed to stick around, so if you accidentally use one on your dry erase board, you’ll need a bit more effort to remove it. But don’t panic—we’ve got solutions for both scenarios.
Tools You Need to Clean Your Dry Erase Board
Before we jump into the cleaning methods, let’s gather the tools you’ll need. Most of these items are probably already in your home, so no need to go on a shopping spree.
- Whiteboard cleaner (optional)
- Isopropyl alcohol or rubbing alcohol
- A clean, lint-free cloth or paper towels
- White vinegar
- Baking soda
- Warm water
These household items are safe to use and won’t damage your board. Plus, they’re budget-friendly, which is always a win!
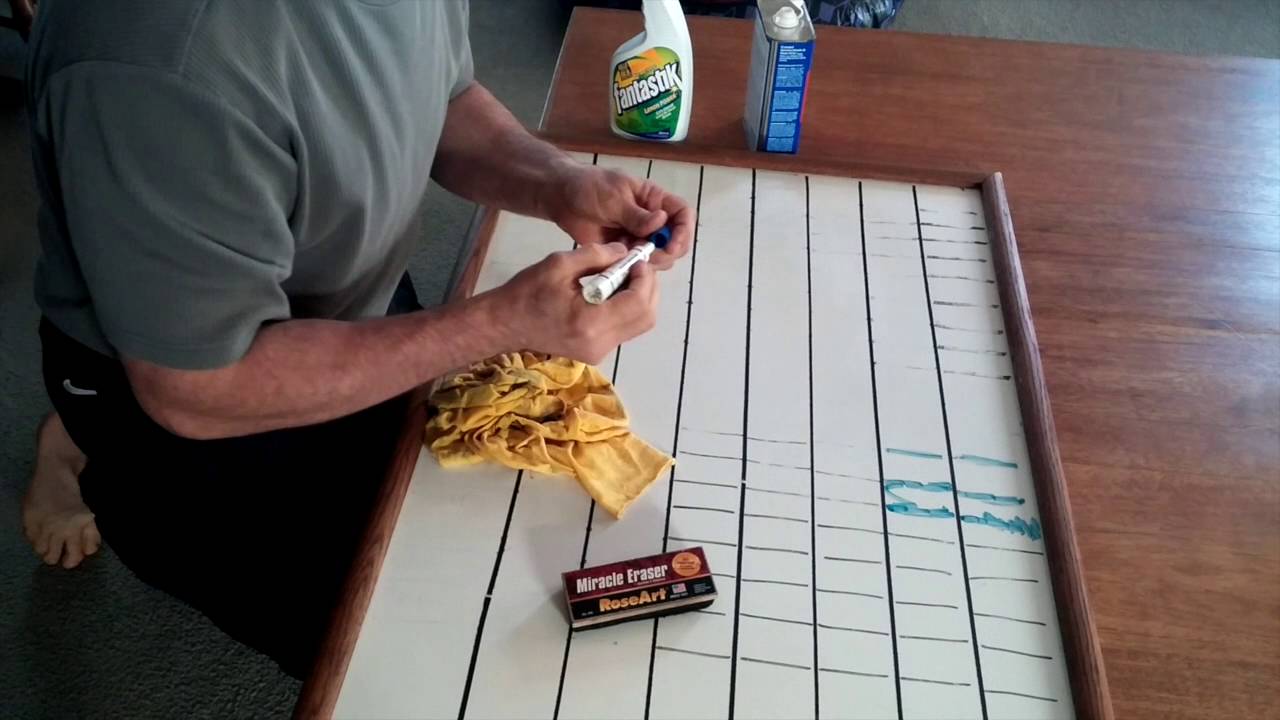
Step-by-Step Guide: How to Get Marker Off of a Dry Erase Board
1. Start with Basic Cleaning
Before you tackle stubborn stains, give your board a quick wipe with a dry erase eraser. Sometimes, all it takes is a good old-fashioned scrub. If that doesn’t work, move on to the next step.
2. Use Rubbing Alcohol
Isopropyl alcohol is a game-changer when it comes to removing marker stains. Here’s how you do it:
Read also:Seung Yong Chung Diane Farr The Untold Story Of Friendship And Collaboration
- Dip a corner of your cloth in rubbing alcohol.
- Gently rub the stained area in a circular motion.
- Wipe the area with a clean, damp cloth to remove any alcohol residue.
Voila! The stain should be gone. If not, repeat the process until the marker disappears.
3. Try White Vinegar
Vinegar is another effective cleaner that’s gentle on surfaces. Mix equal parts water and vinegar in a spray bottle, then spray the solution onto the stained area. Wipe it off with a clean cloth, and your board should look as good as new.
4. Baking Soda Magic
Baking soda is a natural abrasive that can help scrub away tough stains. Make a paste by mixing baking soda with a little water. Apply the paste to the stained area and gently scrub with a soft cloth. Rinse with warm water and dry the board with a clean towel.
Preventing Marker Stains on Your Dry Erase Board
Now that you know how to clean your board, let’s talk about prevention. Here are a few tips to keep your dry erase board looking its best:
- Use only dry erase markers designed for whiteboards.
- Wipe the board regularly to prevent ghosting.
- Store markers with their caps on tightly to prevent them from drying out.
- Consider investing in a high-quality board that resists ghosting.
By following these simple steps, you can extend the life of your dry erase board and keep it looking pristine.
Common Mistakes to Avoid
There are a few common mistakes people make when cleaning their dry erase boards. Let’s go over them so you can avoid them:
- Using abrasive cleaners or scrubbers that can scratch the surface.
- Applying too much pressure while cleaning, which can damage the board.
- Not wiping off cleaning solutions completely, leaving behind residue.
Stick to gentle, non-abrasive cleaners and a light touch to keep your board in top condition.
Professional Cleaning Products: Are They Worth It?
If you’re not into DIY cleaning solutions, there are plenty of professional whiteboard cleaners on the market. These products are specifically designed to remove stains and prevent ghosting. While they may cost a bit more, they can save you time and effort in the long run.
Some popular options include:
- Whiteboard Cleaner by Expo
- Mr. Clean Magic Eraser
- 3M Whiteboard Cleaner
These products are highly rated and trusted by many users. If you’re looking for convenience, they’re definitely worth considering.
DIY Cleaning Hacks: Creative Solutions for Stubborn Stains
1. Lemon Juice and Baking Soda
This natural cleaning duo is perfect for tough stains. Mix lemon juice with baking soda to create a paste, apply it to the stained area, and let it sit for a few minutes. Then, scrub gently with a soft cloth and rinse with water.
2. Baby Wipes
Believe it or not, baby wipes can be a lifesaver when it comes to cleaning dry erase boards. They’re gentle yet effective at removing stubborn marks. Just wipe the board with a baby wipe, and you’re good to go.
How to Maintain Your Dry Erase Board
Regular maintenance is key to keeping your dry erase board in top condition. Here are a few tips:
- Clean the board after every use to prevent ghosting.
- Inspect the board periodically for any signs of wear and tear.
- Replace your board if it becomes too scratched or damaged.
With proper care, your dry erase board can last for years without any issues.
Conclusion: Keep Your Dry Erase Board Looking Great
Now that you know how to get marker off of a dry erase board, you’re ready to tackle any stain that comes your way. Whether you choose to use household remedies or professional cleaners, the key is consistency and care.
Remember, prevention is just as important as cleaning. By taking good care of your board, you’ll ensure it stays in great condition for years to come. So, grab your cleaning supplies and get to work!
Don’t forget to share this article with your friends and family who might find it helpful. And if you have any questions or tips of your own, leave a comment below. Happy cleaning!
Table of Contents
- How to Get Marker Off of a Dry Erase Board: A Comprehensive Guide
- Understanding the Problem: Why Does Marker Stay on a Dry Erase Board?
- Tools You Need to Clean Your Dry Erase Board
- Step-by-Step Guide: How to Get Marker Off of a Dry Erase Board
- Preventing Marker Stains on Your Dry Erase Board
- Common Mistakes to Avoid
- Professional Cleaning Products: Are They Worth It?
- DIY Cleaning Hacks: Creative Solutions for Stubborn Stains
- How to Maintain Your Dry Erase Board
- Conclusion: Keep Your Dry Erase Board Looking Great