Ever wondered how to make a heart on a banner for that special occasion or just to add a touch of love to your space? Well, you're in the right place. In this guide, we’ll dive into everything you need to know about creating a heart design on a banner, from the basics to some advanced tips. Whether it's for a birthday party, wedding, or just because, this step-by-step guide will help you bring your creative vision to life.
Creating a heart on a banner might sound like a simple task, but trust me, there’s more to it than meets the eye. From choosing the right materials to adding that personal touch, every step matters. This guide isn’t just about making a heart; it’s about turning an ordinary banner into something extraordinary.
So, if you’re ready to get your hands dirty (or not so dirty, depending on the materials you choose), let’s jump right in. By the end of this article, you’ll be a pro at designing heart-shaped banners, and who knows, you might even discover a new hobby!
Read also:What Happened To Ice La Fox The Untold Story
Why Heart-Shaped Banners Are a Big Deal
Before we dive into the how-to, let’s talk about why heart-shaped banners are such a hit. Hearts are a universal symbol of love, and adding one to your banner instantly elevates the mood. They’re perfect for romantic occasions like Valentine’s Day, anniversaries, or weddings, but they also work wonders for birthdays, baby showers, or even corporate events. The versatility of a heart design is unmatched.
Plus, there’s something about the shape of a heart that just feels cozy and inviting. It’s not just a design element; it’s an emotion. And when you combine that with a banner, you’ve got a winning combination. So, whether you’re a DIY enthusiast or just looking for a quick and easy way to add some charm to your event, a heart-shaped banner is the way to go.
Choosing the Right Materials
Alright, now that we’ve established why heart-shaped banners are awesome, let’s talk about materials. The type of material you choose will depend on the occasion and your budget. Here are a few options to consider:
- Fabric: Perfect for outdoor events, fabric banners can withstand the elements and add a rustic charm.
- Paper: Ideal for indoor parties, paper banners are lightweight, easy to work with, and budget-friendly.
- Vinyl: If you want something durable and long-lasting, vinyl is the way to go. It’s great for outdoor use and can be reused multiple times.
- Foam Board: For a sturdier option, foam board banners are easy to cut and paint, making them perfect for detailed designs.
Remember, the material you choose will affect the overall look and feel of your banner, so choose wisely!
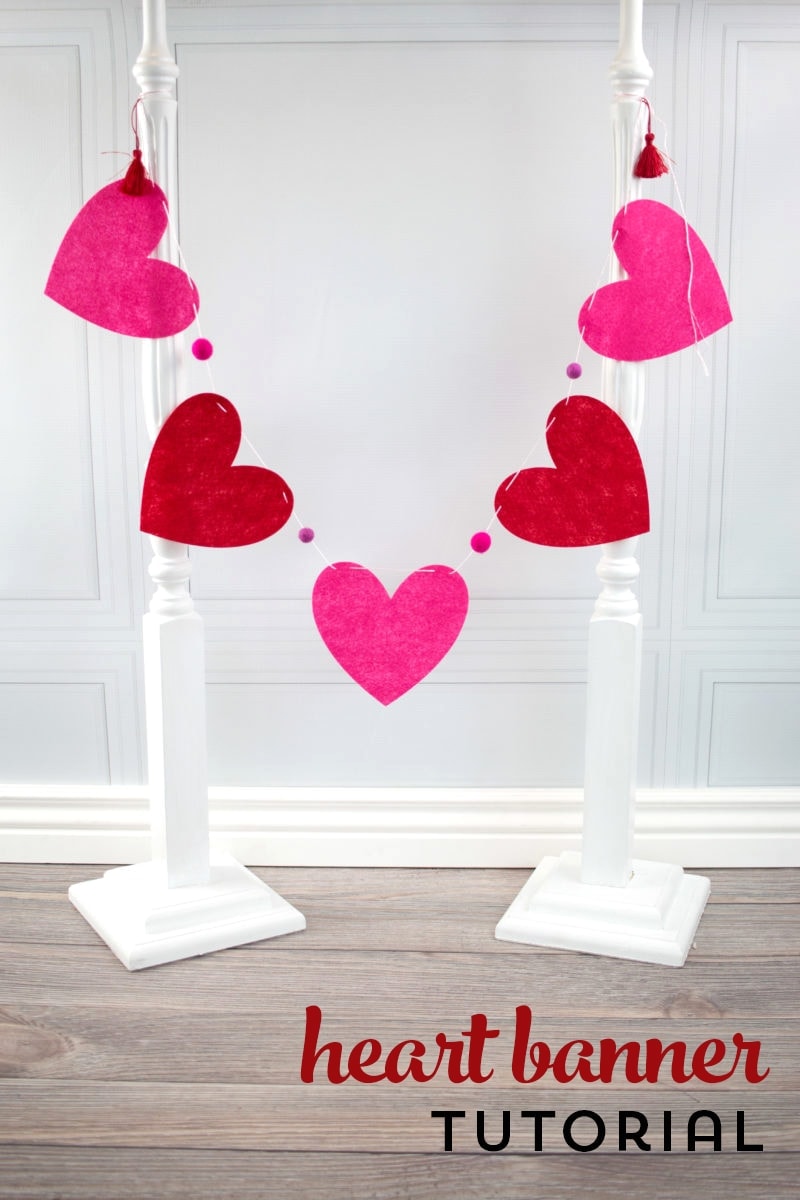
Step-by-Step Guide: How to Make a Heart on a Banner
Now, let’s get into the nitty-gritty of how to make a heart on a banner. Follow these simple steps, and you’ll have a stunning heart-shaped banner in no time.
Step 1: Gather Your Supplies
Before you start, make sure you have all the necessary supplies. Here’s a list to help you out:
Read also:Travis Scotts Current Girlfriend The Inside Scoop Youve Been Waiting For
- Banner material (fabric, paper, vinyl, etc.)
- Scissors or a cutting tool
- Markers or paint
- String or ribbon for hanging
- Glue or tape
- A stencil or template (optional)
Having everything ready beforehand will save you time and frustration later on.
Step 2: Create Your Heart Template
Next, you’ll need to create a heart template. You can either draw one freehand or use a stencil for precision. If you’re not confident in your drawing skills, don’t worry—there are plenty of free templates available online that you can print and use as a guide.
Once you have your template, trace it onto your banner material using a pencil or a light-colored marker. Make sure the heart is the right size for your banner. If you’re making multiple hearts, space them out evenly for a balanced look.
Step 3: Cut Out the Heart
Now it’s time to cut out your heart. Use sharp scissors or a cutting tool to ensure clean edges. Take your time with this step, as a clean cut will make a big difference in the final product.
If you’re working with fabric, consider using pinking shears to prevent fraying. For vinyl or foam board, a craft knife might be more suitable. Whatever material you’re using, just make sure your tools are sharp and your workspace is well-lit.
Step 4: Add Some Color
With your heart cut out, it’s time to bring it to life with color. You can paint it, use markers, or even add stickers for a fun twist. The possibilities are endless! If you’re using fabric, consider using fabric paint for a longer-lasting finish.
Don’t be afraid to get creative with your colors. While red is the classic choice for hearts, you can experiment with pink, purple, or even gold for a more modern look. The key is to choose colors that complement the theme of your event.
Step 5: Assemble Your Banner
Once your hearts are ready, it’s time to assemble your banner. Attach the hearts to your string or ribbon using glue, tape, or even staples, depending on the material. Make sure they’re evenly spaced and securely attached.
If you want to add some extra flair, consider incorporating other shapes or embellishments. Stars, flowers, or even glitter can take your banner to the next level. Just remember to keep it balanced so it doesn’t look too busy.
Tips and Tricks for Perfecting Your Heart Banner
Now that you know the basics, here are a few tips and tricks to help you perfect your heart-shaped banner:
- Measure Twice, Cut Once: Always double-check your measurements before cutting to avoid mistakes.
- Use High-Quality Materials: Investing in good-quality materials will make your banner look more professional.
- Experiment with Textures: Mixing different textures, such as shiny vinyl and matte paper, can add depth to your design.
- Keep It Simple: Sometimes, less is more. A simple heart design can be just as impactful as a complex one.
These tips will help you avoid common pitfalls and ensure your banner turns out exactly how you envisioned it.
Common Mistakes to Avoid
While making a heart-shaped banner might seem straightforward, there are a few common mistakes that can ruin your project. Here are a few to watch out for:
- Not Planning Ahead: Without a plan, your banner might end up looking disorganized or unbalanced.
- Using Dull Colors: Bright, vibrant colors will make your banner pop, so don’t be afraid to use them.
- Skipping the Template: Drawing freehand might seem quicker, but using a template will give you a cleaner, more professional look.
By avoiding these mistakes, you’ll save yourself time and effort in the long run.
How to Customize Your Heart Banner
One of the best things about making your own heart-shaped banner is the ability to customize it to fit your needs. Here are a few ideas to get you started:
Idea 1: Add Personalized Messages
Whether it’s a name, date, or special message, adding personalized text to your banner can make it truly unique. Use a calligraphy pen or vinyl letters to create a custom look.
Idea 2: Incorporate Themed Decor
Match your banner to the theme of your event by incorporating themed elements. For example, if it’s a beach-themed party, you could add seashells or sand dollars to your banner.
Idea 3: Experiment with Sizes
Don’t be afraid to mix and match heart sizes for a more dynamic look. A combination of large and small hearts can create visual interest and depth.
These customization ideas will help you create a banner that’s not only beautiful but also meaningful.
Where to Find Inspiration
If you’re feeling stuck, there are plenty of places to find inspiration for your heart-shaped banner. Pinterest, Instagram, and even YouTube are great resources for DIY ideas and tutorials. You can also check out party supply stores or craft fairs for inspiration.
Remember, the key is to find something that resonates with you and your event. Whether it’s a bold, modern design or a soft, romantic look, there’s a heart banner out there for everyone.
How to Make a Heart on a Banner: Final Thoughts
Creating a heart-shaped banner is a fun and rewarding project that anyone can do. By following the steps outlined in this guide, you’ll be able to create a stunning banner that adds a touch of love and creativity to any occasion.
So, what are you waiting for? Grab your supplies and get started on your heart-shaped banner today. And don’t forget to share your creations with the world—your friends and family will be amazed by your talent!
Call to Action
Now that you’ve learned how to make a heart on a banner, it’s time to put your skills to the test. Share your creations in the comments below or on social media using the hashtag #HeartBannerChallenge. We’d love to see what you come up with!
And if you enjoyed this guide, be sure to check out our other articles on DIY projects and creative ideas. Happy crafting!
Table of Contents
- Why Heart-Shaped Banners Are a Big Deal
- Choosing the Right Materials
- Step-by-Step Guide: How to Make a Heart on a Banner
- Tips and Tricks for Perfecting Your Heart Banner
- Common Mistakes to Avoid
- How to Customize Your Heart Banner
- Where to Find Inspiration
- How to Make a Heart on a Banner: Final Thoughts
- Call to Action