Ever wondered how to make a floral ball that’s stunning, vibrant, and totally Instagram-worthy? Well, you’re in luck because today we’re diving deep into the world of floral artistry. Whether you’re a beginner or an experienced florist, creating a floral ball is a fantastic way to unleash your creativity and add a touch of elegance to any space. So, grab your scissors, some fresh blooms, and let’s get started!
Let’s face it—flowers are magical. They brighten up any room, bring life to dull corners, and even elevate your mood. But when it comes to floral arrangements, the floral ball stands out as one of the most stunning and versatile designs. It’s perfect for weddings, parties, home decor, or simply as a gift for someone special.
Now, before we dive into the nitty-gritty of making a floral ball, let me tell you something cool. This isn’t just about sticking flowers together; it’s about creating a masterpiece. Think of it like painting, but instead of brushes and paints, you’re using stems and petals. Sound fun? Let’s go!
Read also:George Montgomery And Dinah Shore A Legendary Hollywood Romance
What You’ll Need to Make a Floral Ball
Before we start crafting, it’s important to gather all the tools and materials you’ll need. This will ensure the process is smooth, stress-free, and super enjoyable. Here’s a quick rundown of everything you’ll need:
- Foam ball (oasis foam works best)
- A variety of fresh flowers (roses, peonies, hydrangeas, etc.)
- Green floral tape
- Floral wire (optional)
- Sharp scissors or a floral knife
- A bucket of water to keep your flowers fresh
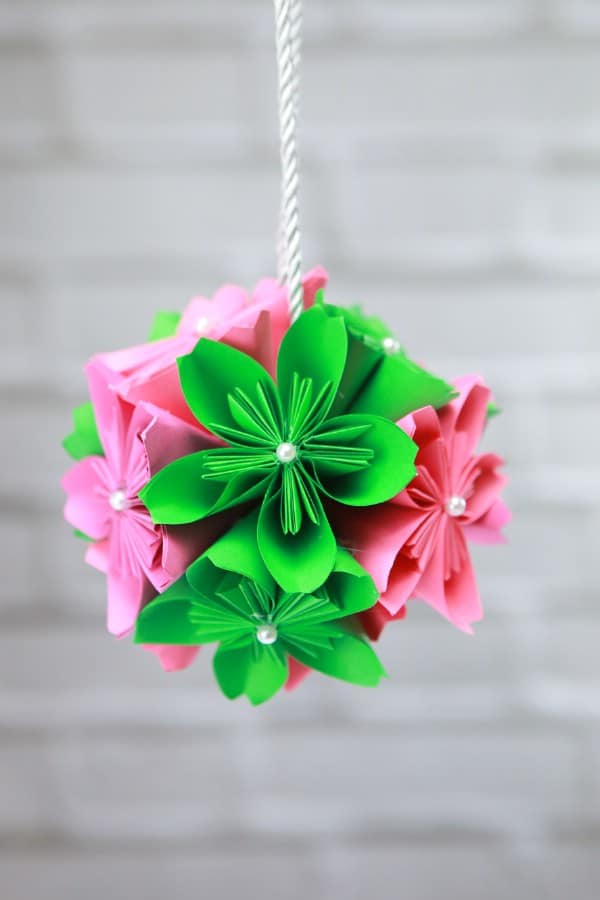
- A piece of ribbon or twine for hanging (if needed)
Now that we’ve got the basics covered, let’s move on to the next step. But wait—did you notice how important it is to pick the right flowers? That’s where the magic happens. Choosing vibrant, fresh blooms is key to creating a floral ball that lasts longer and looks amazing.
Step-by-Step Guide: How to Make a Floral Ball
Alright, let’s get our hands dirty (well, not too dirty, but you get the idea). Follow these simple steps, and you’ll have your floral ball ready in no time.
Step 1: Prepare Your Foam Ball
Start by soaking your oasis foam ball in water. This step is crucial because it helps the flowers stay fresh for longer. Make sure the foam is completely saturated before you start working with it. Pro tip: If you’re planning to hang your floral ball, attach a piece of ribbon or wire to the foam now—it’ll save you a headache later!
Step 2: Choose Your Flowers
This is the fun part! Pick a mix of flowers in different colors, sizes, and textures. Some popular choices for floral balls include roses, hydrangeas, baby’s breath, and even succulents for a modern twist. Remember, the more variety you add, the more interesting your floral ball will look.
Step 3: Cut the Stems
Using your sharp scissors or floral knife, cut the stems of your flowers at an angle. This helps them absorb water more efficiently and keeps them fresh. Don’t worry if the stems are too short—just make sure they fit snugly into the foam ball.
Read also:Who Is Cory Bookers Girlfriend The Ultimate Guide To His Love Life
Step 4: Start Arranging
Now comes the creative part. Begin by inserting your flowers into the foam ball one by one. Start with the larger blooms first, then fill in the gaps with smaller flowers and greenery. Keep rotating the ball as you work to ensure an even distribution of colors and textures.
Step 5: Secure the Design
Once you’ve filled the foam ball with flowers, use green floral tape to wrap around the base. This will help secure the stems and give your floral ball a polished look. If you’re hanging your ball, tie the ribbon or wire securely around the top.
Step 6: Add the Finishing Touches
Take a step back and admire your work. Do you see any gaps or areas that need more flowers? Now’s the time to add those finishing touches. You can also add some decorative elements like pearls or ribbons for extra flair.
Tips and Tricks for Making a Stunning Floral Ball
Creating a floral ball doesn’t have to be complicated. With a few simple tips, you can take your design to the next level. Here are some insider tricks to help you create a floral ball that’s truly breathtaking:
- Choose flowers that complement each other in color and texture.
- Soak the foam ball in water for at least 30 minutes before starting.
- Use floral wire to reinforce stems if they’re too fragile.
- Don’t overcrowd the ball—leave some space for air to circulate.
- Keep your floral ball away from direct sunlight to prolong its lifespan.
These tips might seem small, but they make a huge difference in the overall look and longevity of your floral ball. Trust me, your friends will be impressed!
Common Mistakes to Avoid When Making a Floral Ball
Even the best florists make mistakes sometimes. But don’t worry—we’ve got you covered. Here are some common mistakes to avoid when making a floral ball:
- Not soaking the foam ball properly—this can cause your flowers to dry out quickly.
- Using flowers that are too large or too small—this can throw off the balance of your design.
- Overcrowding the ball—leave some breathing room for your flowers to thrive.
- Not securing the stems properly—this can lead to flowers falling out.
By avoiding these mistakes, you’ll ensure your floral ball looks its best and lasts as long as possible.
Where to Buy Supplies for Your Floral Ball
Now that you know how to make a floral ball, it’s time to talk about where to get your supplies. Whether you’re shopping online or in-store, here are some great places to find everything you need:
- Local florists—support small businesses and get fresh, high-quality flowers.
- Online retailers like Amazon or Etsy—convenient and often more affordable.
- Craft stores like Michaels or Hobby Lobby—great for foam balls and floral tape.
Remember, the quality of your supplies will directly impact the quality of your floral ball. So, don’t skimp on the good stuff!
How to Care for Your Floral Ball
Once you’ve created your floral ball, it’s important to take care of it properly. Here are some tips to help your masterpiece last as long as possible:
- Keep the foam ball moist by misting it with water daily.
- Avoid placing your floral ball in direct sunlight or near heat sources.
- Trim any wilting flowers to prevent them from affecting the rest of the arrangement.
With a little TLC, your floral ball can last for weeks, bringing joy and beauty to your space.
Floral Ball Ideas for Different Occasions
Floral balls are incredibly versatile and can be customized for any occasion. Here are a few ideas to inspire you:
Wedding Floral Balls
For weddings, consider using soft pastel colors like blush, ivory, and lavender. Add some greenery and eucalyptus for a romantic touch.
Party Floral Balls
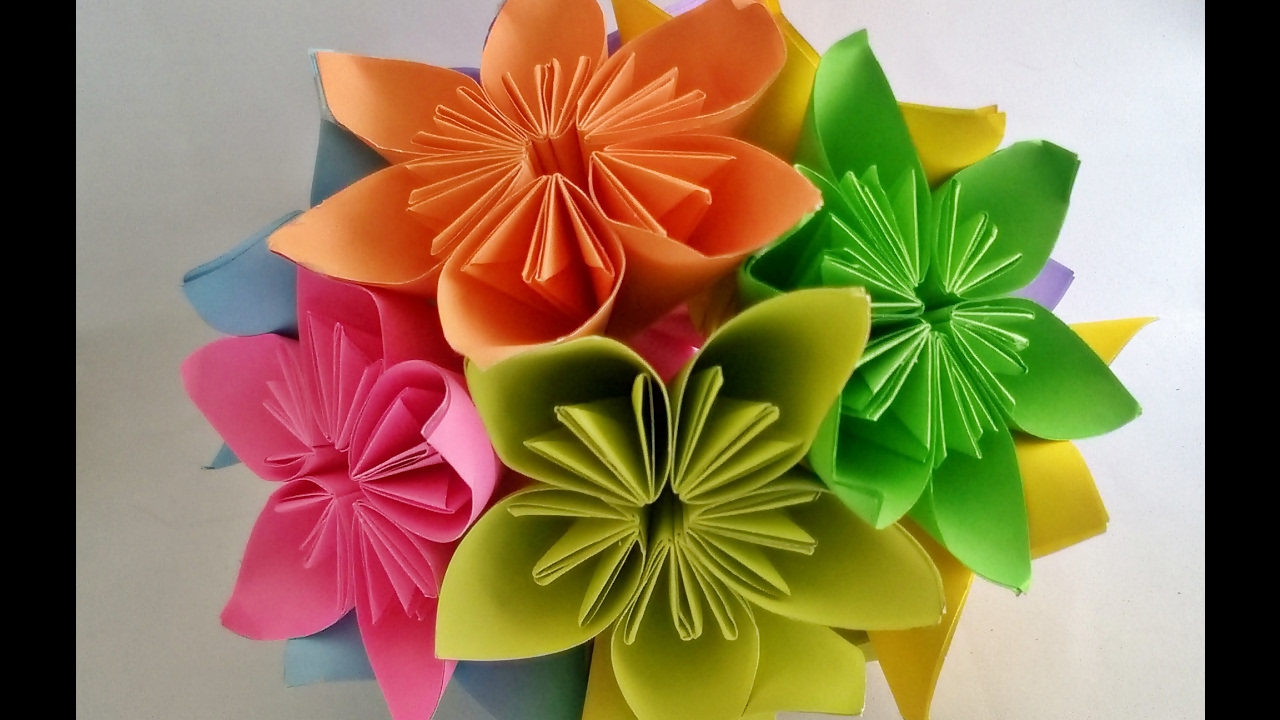
For parties, go bold with bright colors like red, yellow, and orange. Mix in some metallic accents for a festive vibe.
Seasonal Floral Balls
Change up your floral ball with the seasons. Use spring blooms like tulips and daffodils, summer flowers like sunflowers and lilies, or fall foliage like mums and berries.
DIY vs. Hiring a Professional Florist
Should you DIY your floral ball or hire a professional florist? It depends on your skill level and budget. If you’re a beginner, creating a floral ball might take some practice. But if you’re confident in your abilities, it’s a fun and rewarding project. On the other hand, hiring a professional ensures a polished, high-quality result. It’s all about what works best for you!
Conclusion: Ready to Create Your Own Floral Ball?
And there you have it—everything you need to know about how to make a floral ball. From gathering supplies to arranging flowers, this guide has walked you through every step of the process. Remember, the key to creating a stunning floral ball is using fresh, vibrant blooms and paying attention to detail.
Now it’s your turn to take action! Grab your tools, pick out your favorite flowers, and start crafting your masterpiece. Don’t forget to share your creations with us in the comments below—we’d love to see what you come up with. Happy floraling!
Table of Contents
- What You’ll Need to Make a Floral Ball
- Step-by-Step Guide: How to Make a Floral Ball
- Tips and Tricks for Making a Stunning Floral Ball
- Common Mistakes to Avoid When Making a Floral Ball
- Where to Buy Supplies for Your Floral Ball
- How to Care for Your Floral Ball
- Floral Ball Ideas for Different Occasions
- DIY vs. Hiring a Professional Florist
- Conclusion: Ready to Create Your Own Floral Ball?