So, you’ve decided to take on the challenge of installing a Delta faucet cartridge yourself? Well, good news, my friend, because this is totally doable, even if you’re not a professional plumber. Replacing a Delta faucet cartridge can save you a ton of cash and it’s an easy fix for common issues like leaks or low water pressure. Stick around, and I’ll walk you through every step.
Look, let’s face it—Delta faucets are everywhere. They’re durable, stylish, and super functional. But like anything else, they might need a little TLC from time to time. One of the most common problems people run into is a faulty cartridge, which can cause annoying drips or weak water flow. Instead of calling in the big guns (aka a plumber), you can tackle this DIY-style and have your faucet back in tip-top shape in no time.
Now, before we dive into the nitty-gritty, let me assure you that this guide is packed with all the info you need. From tools to troubleshooting, we’ve got you covered. Whether you’re a seasoned DIYer or a complete newbie, this step-by-step process will make you feel like a pro in no time. So, grab your tools, roll up your sleeves, and let’s get started!
Read also:Gypsy Rose Blanchard Boyfriends A Journey Through Her Complicated Relationships
Understanding the Delta Faucet Cartridge
First things first, let’s break down what a Delta faucet cartridge actually is. Think of it as the heart of your faucet. It controls the water flow and temperature, so when it goes bad, your faucet won’t work properly. Common signs that your cartridge needs replacing include leaks, reduced water pressure, or inconsistent water temperature.
Why Does the Cartridge Fail?
There are several reasons why your Delta faucet cartridge might fail. Mineral buildup, wear and tear, or manufacturing defects can all contribute to its demise. If you notice any of the warning signs mentioned earlier, it’s probably time to swap it out.
- Mineral deposits can clog the cartridge over time.
- Prolonged use can lead to natural wear and tear.
- Occasionally, a faulty cartridge could be due to a defect from the manufacturer.
What You’ll Need to Install a Delta Faucet Cartridge
Before we jump into the installation process, make sure you have all the necessary tools and materials. Being prepared will save you a lot of hassle and ensure the job gets done right the first time.
Tools and Materials
- A new Delta faucet cartridge (make sure it matches your model).
- A screwdriver (Phillips or flathead, depending on your faucet).
- A wrench or pliers (adjustable or needle-nose, depending on the job).
- A pair of gloves to keep your hands clean and protected.
- A small container to catch any water that might spill out.
Having all these tools handy will make the process smoother and more efficient. Trust me, you don’t want to be scrambling halfway through the job to find a wrench!
Step 1: Turn Off the Water Supply
This is arguably the most important step in the entire process. You don’t want to end up with a flood on your hands, do you? Locate the water shut-off valves under the sink and turn them off. If you can’t find them, you might need to turn off the main water supply to your home.
How to Check If the Water is Off
After turning off the valves, open the faucet to release any remaining water. If the water stops flowing, you’re good to go. If not, double-check that the valves are fully closed. This step is crucial to prevent any unexpected water leaks during the installation process.
Read also:Sam Heughan Married A Closer Look At The Heartthrobs Love Life
Step 2: Disassemble the Faucet Handle
Now that the water is off, it’s time to start disassembling the faucet. Begin by removing the decorative cap on the handle. This cap usually hides a screw that holds the handle in place. Use a flathead screwdriver to gently pry it off.
Once the cap is removed, unscrew the handle using the appropriate screwdriver. Be careful not to strip the screw—this is where having the right tool comes in handy. After the screw is removed, gently lift the handle off the faucet. Place it somewhere safe so it doesn’t get damaged.
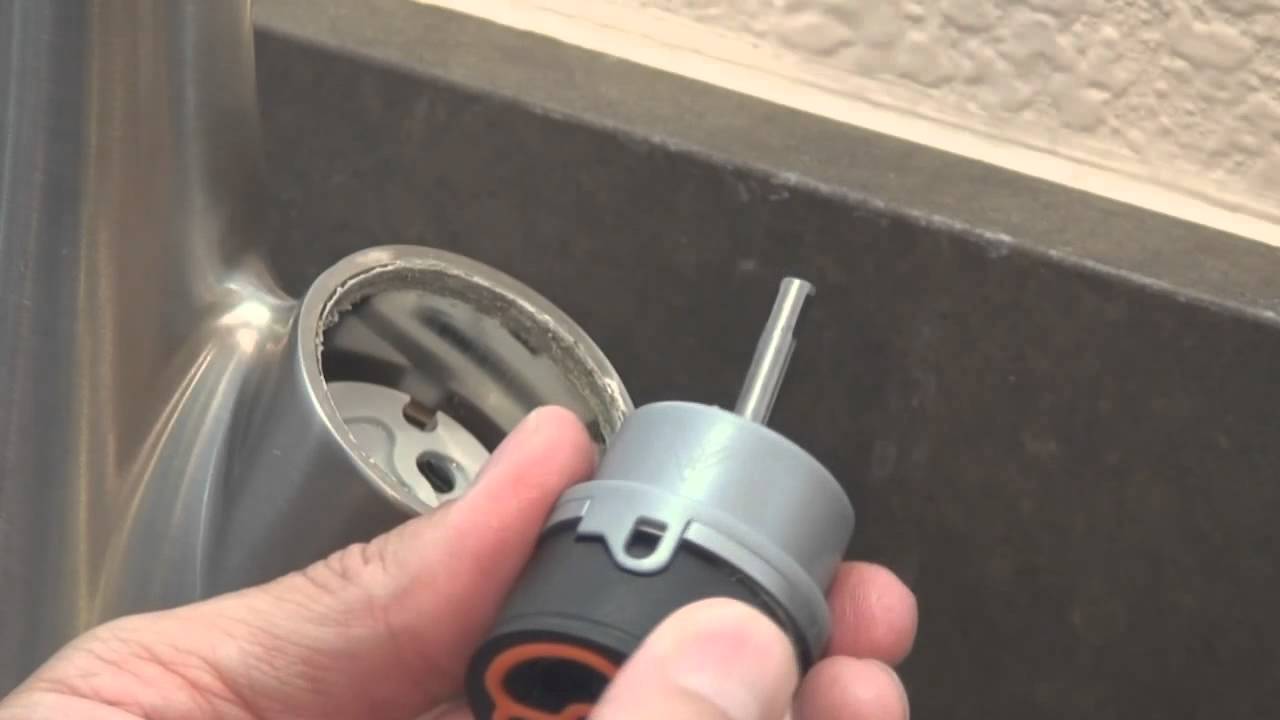
Step 3: Remove the Cartridge
With the handle out of the way, you’ll see the cartridge sitting inside the faucet body. Depending on your Delta faucet model, you might need to use a wrench or pliers to remove it. Grasp the cartridge firmly and pull it straight out. If it’s stuck, wiggle it gently to loosen it.
Tips for Removing a Stubborn Cartridge
Sometimes, mineral deposits can make the cartridge difficult to remove. If this happens, try soaking the faucet in vinegar for a few minutes to dissolve the buildup. This should make the cartridge easier to pull out. Patience is key here—don’t force it or you might damage the faucet body.
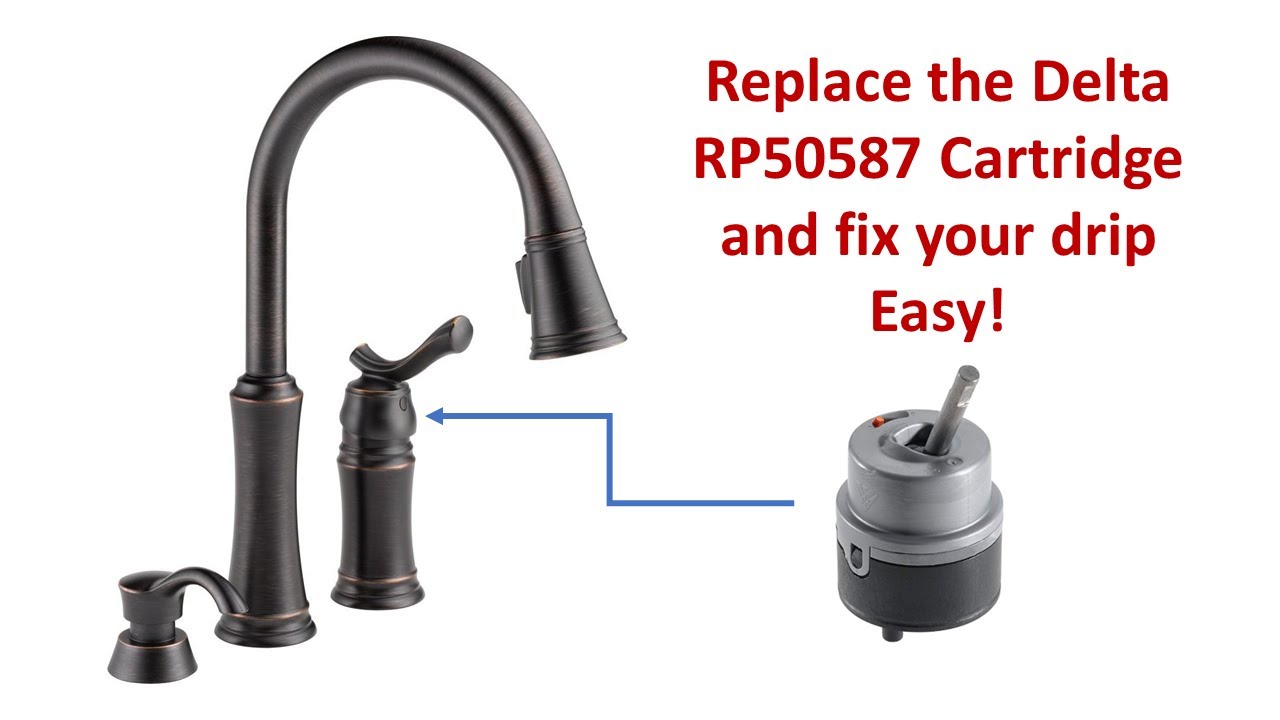
Step 4: Install the New Cartridge
Now it’s time to install the new Delta faucet cartridge. Take the old cartridge and compare it to the new one to ensure they match. Once you’re confident you have the right part, gently insert the new cartridge into the faucet body. Make sure it’s aligned properly and push it all the way in until it clicks into place.
How to Ensure Proper Alignment
Alignment is crucial for the cartridge to function correctly. Most Delta cartridges have a small notch or groove that needs to line up with a corresponding slot in the faucet body. If it doesn’t fit easily, don’t force it. Instead, double-check the alignment and try again.
Step 5: Reassemble the Faucet
With the new cartridge in place, it’s time to put everything back together. Start by reattaching the handle. Place it over the cartridge and secure it with the screw you removed earlier. Replace the decorative cap to cover the screw.
Once the handle is back on, turn the water supply back on by opening the shut-off valves. Open the faucet to check for leaks or any issues. If everything looks good, congratulations—you’ve successfully installed a new Delta faucet cartridge!
Common Issues and Troubleshooting
Even with careful installation, sometimes things don’t go exactly as planned. Here are a few common issues you might encounter and how to fix them:
Leaking Faucet
If you notice water leaking after the installation, it could be due to a misaligned cartridge or a damaged O-ring. Check the cartridge alignment and ensure the O-ring is in good condition. Replace it if necessary.
Low Water Pressure
Low water pressure might indicate that the aerator is clogged with mineral deposits. Remove the aerator and clean it thoroughly before reattaching it to the faucet.
How to Maintain Your Delta Faucet
To extend the life of your Delta faucet and prevent future cartridge issues, regular maintenance is key. Here are a few tips to keep your faucet in top condition:
- Regularly clean the faucet with mild soap and water to prevent mineral buildup.
- Use a vinegar solution to dissolve any stubborn deposits.
- Inspect the O-rings and gaskets periodically and replace them if they show signs of wear.
Why Replace a Delta Faucet Cartridge Yourself?
Replacing a Delta faucet cartridge yourself offers several benefits. Not only do you save money by avoiding plumbing costs, but you also gain valuable skills and confidence in tackling future DIY projects. Plus, it’s incredibly satisfying to fix something yourself and see the immediate results.
Conclusion
Installing a Delta faucet cartridge might seem intimidating at first, but with the right tools and a bit of patience, it’s a task anyone can accomplish. By following the steps outlined in this guide, you’ll have your faucet back in working order in no time.
Remember to turn off the water supply, carefully disassemble the faucet, and ensure proper alignment when installing the new cartridge. If you run into any issues, don’t panic—troubleshooting is just part of the process. And don’t forget to maintain your faucet regularly to prevent future problems.
Now that you’ve completed this project, why not share your experience with others? Leave a comment below and let us know how it went. And if you’re feeling adventurous, check out some of our other DIY guides to take your home improvement skills to the next level. Happy fixing!
Table of Contents
- Understanding the Delta Faucet Cartridge
- Why Does the Cartridge Fail?
- What You’ll Need to Install a Delta Faucet Cartridge
- Step 1: Turn Off the Water Supply
- Step 2: Disassemble the Faucet Handle
- Step 3: Remove the Cartridge
- Step 4: Install the New Cartridge
- Step 5: Reassemble the Faucet
- Common Issues and Troubleshooting
- How to Maintain Your Delta Faucet
- Why Replace a Delta Faucet Cartridge Yourself?