So, you’ve got a broken wire charger and you’re wondering, “How to fix broken wire charger?” Don’t sweat it, buddy. We’ve all been there. Whether it’s a smartphone charger, laptop cable, or even your trusty earphone wire, dealing with frayed or damaged wires can be a real pain. But here’s the good news: fixing a broken charger wire isn’t rocket science. With the right tools, techniques, and a little patience, you can breathe new life into that old cable.
Now, before you rush to the store for a replacement, let me tell you something: repairing a broken charger wire is not only cost-effective but also environmentally friendly. Think about it—why throw away something that can still be fixed? In this guide, we’ll walk you through the entire process step by step, from assessing the damage to ensuring your charger is good as new. And trust me, once you master this skill, you’ll feel like MacGyver.
But hold up! Before we dive deep into the nitty-gritty of fixing your charger wire, let’s address the elephant in the room. Why do charger wires break in the first place? It’s usually due to constant bending, poor quality materials, or just plain old wear and tear. Understanding the root cause is key to preventing future issues, so we’ll cover that too. So grab your tools, and let’s get started!
Read also:Celtic Thunder Ryan Kelly Wife The Love Story Behind The Voice
Understanding the Problem: Why Chargers Break
Before we jump into solutions, it’s essential to understand why charger wires break. Most of the time, it comes down to one or more of these factors:
- Constant Flexing: If you’re constantly bending or twisting the wire, it’s bound to weaken over time. This is especially true for the part near the connector where the stress is highest.
- Poor Quality Materials: Not all chargers are created equal. Cheap cables often use inferior materials that can’t handle daily wear and tear.
- Accidental Damage: Sometimes, it’s just bad luck. Tripping over the wire, stepping on it, or even yanking it out of the socket can cause damage.
- Environmental Factors: Exposure to heat, moisture, or chemicals can degrade the insulation, making the wire more prone to breaking.
Now that we’ve identified the common culprits, it’s time to move on to the fun part—fixing it!
What You’ll Need to Fix a Broken Charger Wire
Before you start tinkering with your broken charger, make sure you have all the necessary tools and materials. Here’s a quick list:
- Wire cutters
- Wire strippers
- Soldering iron
- Solder wire
- Heat shrink tubing
- Electrical tape
- A steady hand (and maybe a little patience)
Having the right tools makes the job much easier and safer. Trust me, trying to solder without the proper equipment is like trying to paint a masterpiece with your fingers—it’s messy and doesn’t end well.
Step-by-Step Guide: How to Fix Broken Wire Charger
Step 1: Assess the Damage
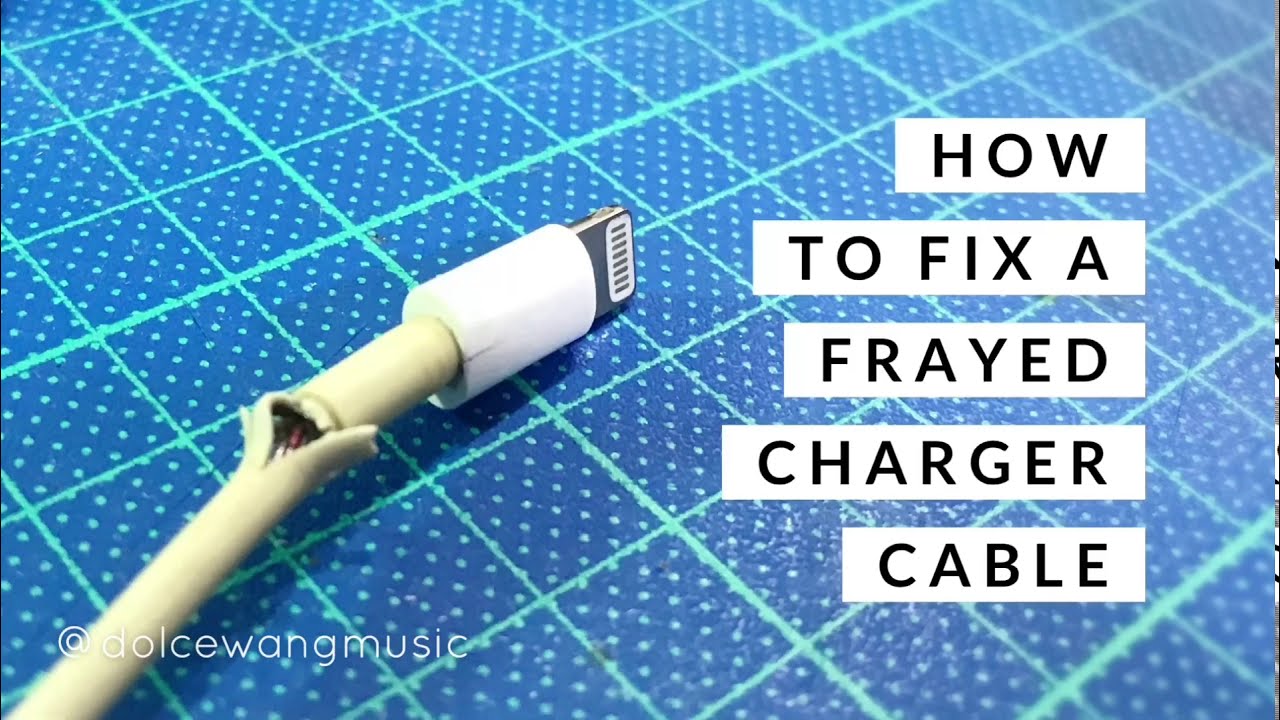
The first step in fixing a broken charger wire is to assess the damage. Is it just the outer insulation that’s frayed, or are the internal wires exposed? Understanding the extent of the damage will help you decide the best course of action.
If the internal wires are exposed or damaged, you’ll need to proceed with caution. If it’s just the outer insulation, you might be able to get away with a quick repair using heat shrink tubing or electrical tape.
Read also:How Old Is Ashleigh Summers Unveiling The Life Career And Age Of A Rising Star
Step 2: Gather Your Tools
Once you’ve assessed the damage, gather all your tools and materials. Make sure everything is within reach, so you don’t have to interrupt the process to go hunting for something.
Pro tip: Clean your workspace beforehand. You don’t want to be dealing with stray bits of wire or solder falling into your coffee cup.
Step 3: Strip the Damaged Section
Using your wire cutters, carefully remove the damaged section of the wire. Be gentle—cutting too much can leave you with a shorter cable, which might not be ideal. Once the damaged part is removed, use your wire strippers to strip back the insulation to expose the internal wires.
Remember, precision is key here. You don’t want to accidentally cut through the internal wires while stripping the insulation.
Step 4: Solder the Wires
This is where things get a little technical. Using your soldering iron and solder wire, carefully solder the exposed wires back together. Make sure each wire is properly connected to its corresponding wire on the other side.
Don’t rush this step. A bad solder joint can cause all sorts of problems, including poor conductivity or even short circuits.
Step 5: Insulate the Connection
Once the wires are soldered together, it’s time to insulate the connection. Use heat shrink tubing to cover the soldered joints. Simply slide the tubing over the joint, then use a heat gun or even a lighter to shrink the tubing snugly around the wires.
If you don’t have heat shrink tubing, you can use electrical tape as a substitute. Just make sure to wrap it tightly to prevent any exposed metal from touching other components.
Tips and Tricks for Long-Lasting Repairs
Now that you’ve fixed your charger wire, here are a few tips to ensure your repair lasts as long as possible:
- Avoid Sharp Bends: Try to keep the wire as straight as possible, especially near the connector. Sharp bends can cause the wire to break again.
- Use a Cable Management System: Keeping your cables organized and tangle-free can significantly extend their lifespan.
- Invest in Quality Chargers: While it might be tempting to go for the cheapest option, spending a little more on a high-quality charger can save you time and money in the long run.
- Regular Maintenance: Periodically check your chargers for signs of wear and tear. Catching problems early can prevent more serious damage later on.
By following these tips, you’ll not only extend the life of your repaired charger but also reduce the chances of needing another fix anytime soon.
Common Mistakes to Avoid
Even the best of us make mistakes when repairing electronics. Here are a few common pitfalls to watch out for:
- Using the Wrong Tools: Trying to strip wires with scissors or cutters that are too large can damage the internal wires.
- Overheating the Soldering Iron: Applying too much heat can melt the insulation or even damage the wires themselves.
- Not Insulating Properly: Exposed wires can cause short circuits or electric shocks. Always make sure your connections are properly insulated.
- Forgetting to Test: Before you declare your repair a success, test the charger to ensure it’s working properly. Better safe than sorry!
Avoiding these mistakes will help ensure your repair is both safe and effective.
Data and Statistics: Why Fixing Chargers Matters
Did you know that electronic waste is one of the fastest-growing waste streams in the world? According to the United Nations, the global e-waste generation reached 53.6 million metric tons in 2019, and only 17.4% of that was recycled. By fixing your broken charger wire instead of throwing it away, you’re doing your part to reduce this growing problem.
Not only is repairing environmentally friendly, but it’s also economical. A new charger can cost anywhere from $10 to $50, depending on the quality. Fixing your existing charger, on the other hand, might only cost you a few bucks in materials.
Conclusion: Fixing Your Broken Charger Wire
So there you have it, folks. Fixing a broken charger wire isn’t as daunting as it might seem. With the right tools, a little know-how, and some patience, you can save yourself money and do your part for the environment.
Now that you’ve learned how to fix broken wire charger, why not share your newfound skills with your friends and family? Who knows, you might just become the go-to person for all things tech repair in your circle.
And if you found this guide helpful, don’t forget to leave a comment or share it with others. The more people who know how to fix their own chargers, the better off we all are. So, what are you waiting for? Get out there and start fixing!
Table of Contents
- How to Fix Broken Wire Charger: A Comprehensive Guide for the Everyday Techie
- Understanding the Problem: Why Chargers Break
- What You’ll Need to Fix a Broken Charger Wire
- Step-by-Step Guide: How to Fix Broken Wire Charger
- Tips and Tricks for Long-Lasting Repairs
- Common Mistakes to Avoid
- Data and Statistics: Why Fixing Chargers Matters
- Conclusion: Fixing Your Broken Charger Wire