Have you ever tried making a rubber band bracelet but got stuck at the finishing part? Don’t worry, you’re not alone! Finishing a rubber band bracelet can be tricky, but with the right techniques, you’ll have a stunning piece in no time. In this guide, we’ll break down how to finish a rubber band bracelet step by step so you can rock your DIY jewelry game.
Let’s face it, rubber band bracelets have taken the crafting world by storm. They’re colorful, fun, and super customizable. But the finishing touch? That’s where things can get a little complicated. Whether you’re using a loom or doing it freehand, the final steps are crucial to ensuring your bracelet holds together and looks amazing.
This guide is packed with tips, tricks, and insider secrets to help you master the art of finishing a rubber band bracelet. So grab your supplies, clear your workspace, and let’s dive in. By the end of this article, you’ll be confident enough to create bracelets that will impress your friends and family.
Read also:Isis Serrath And Guty Carrera A Tale Of Love Fame And Celebrity
Why Is Finishing a Rubber Band Bracelet Important?
Alright, let’s talk about why finishing matters. Imagine spending hours weaving those colorful rubber bands only to have your masterpiece fall apart because the ends aren’t secured properly. Not cool, right? The finishing step ensures your bracelet stays intact and doesn’t unravel after all that hard work.
Plus, a well-finished bracelet looks polished and professional. It’s the difference between "meh" and "OMG, how did you make that look so good?" So yeah, learning how to finish a rubber band bracelet is essential if you want your creations to stand out.
Tools You’ll Need to Finish a Rubber Band Bracelet
Before we get into the nitty-gritty, let’s go over the tools you’ll need. Don’t worry, nothing fancy here—just basic stuff you probably already have lying around:
- Rubber bands (duh)
- A bracelet loom or your fingers if you’re going freehand
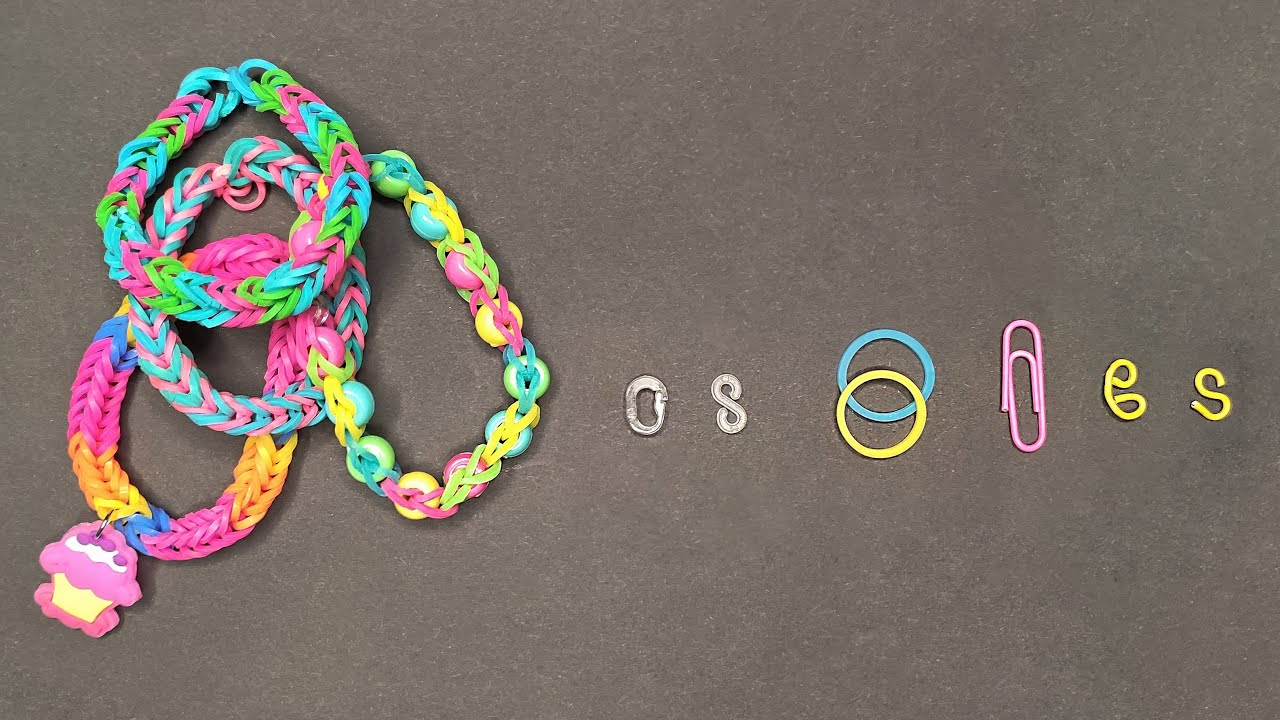
- C-clips or S-clips (these are your best friends)
- A hook tool (optional but super helpful)
Pro tip: Make sure your rubber bands are in good condition. Old or stretched-out bands won’t hold up as well, and you don’t want your bracelet falling apart halfway through the day.
Understanding the Basics of Rubber Band Bracelets
Before we tackle the finishing process, it’s important to understand how rubber band bracelets work. Think of them like tiny puzzle pieces that fit together to create a cohesive design. Each band interlocks with the one before it, forming a chain-like structure.
Now, when it comes to finishing, you’re essentially closing the loop to complete the bracelet. This involves connecting the first and last rows of rubber bands using clips. Sounds simple enough, but there’s a method to the madness.
Read also:Sam Heughan Married A Closer Look At The Heartthrobs Love Life
Step-by-Step Guide to Finishing Your Bracelet
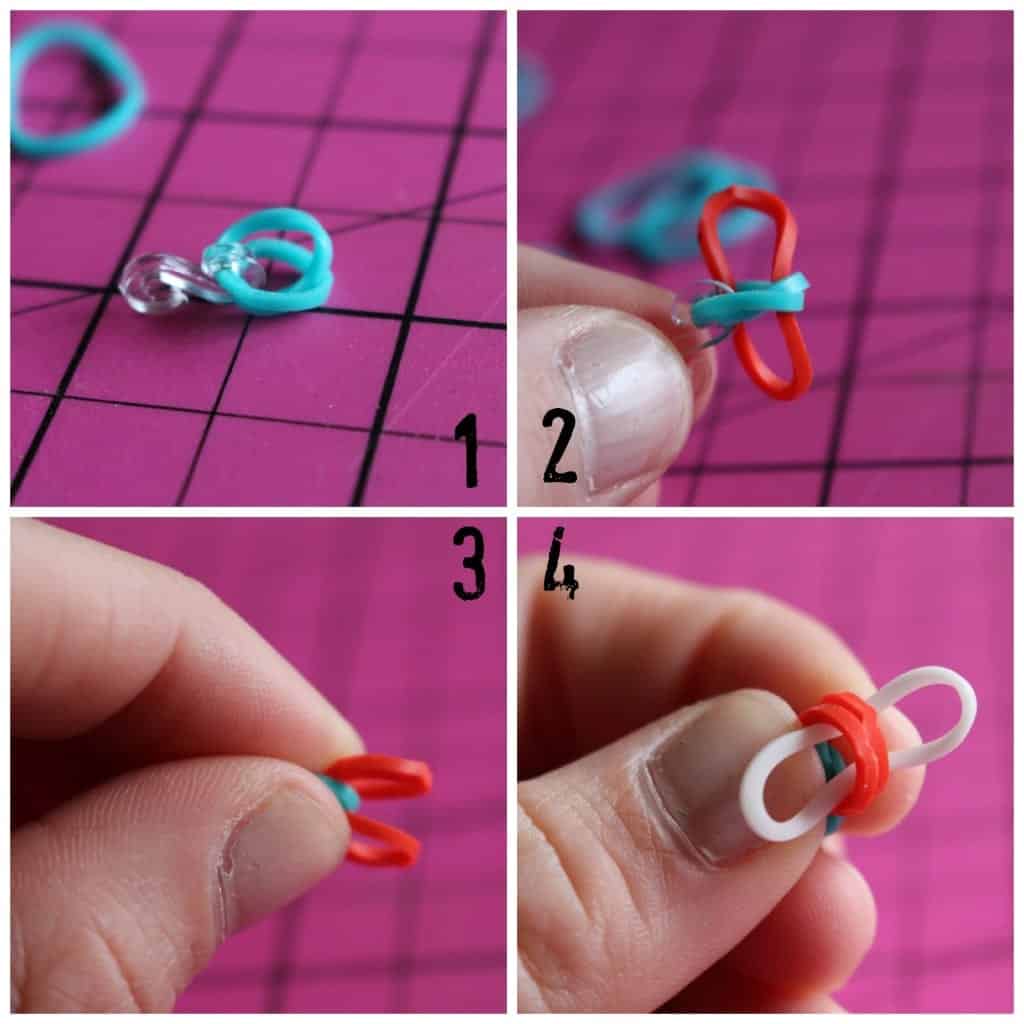
Ready to learn the magic? Here’s a step-by-step breakdown of how to finish a rubber band bracelet:
Step 1: Secure the Last Row
Once you’ve finished weaving your bracelet, take a moment to double-check that the last row is secure. If you’re using a loom, make sure the pegs are holding the bands tightly in place.
Step 2: Attach a C-Clip
Take one C-clip and slide it over the last row of rubber bands. Push it down gently so it grips the bands without squishing them too much. You want it snug but not too tight.
Step 3: Connect to the First Row
Now, take the other end of the C-clip and slide it over the first row of rubber bands. Wiggle it around until it locks into place. Voila! Your bracelet is officially closed.
Step 4: Test the Fit
Slip the bracelet onto your wrist and give it a little tug. It should feel snug but not uncomfortable. If it’s too loose or too tight, adjust the clips accordingly.
Common Mistakes to Avoid When Finishing a Rubber Band Bracelet
Even the most experienced crafters make mistakes sometimes. Here are a few common pitfalls to watch out for:
- Using worn-out clips: Old or damaged clips won’t grip the rubber bands properly, leading to a weak connection.
- Over-tightening: If you pull the clips too tight, you risk breaking the rubber bands or making the bracelet uncomfortable to wear.
- Not testing the fit: Always try on your bracelet before calling it done. A bracelet that’s too loose or too tight won’t be very fun to wear.
Remember, practice makes perfect. The more you work with rubber band bracelets, the better you’ll get at finishing them flawlessly.
Alternative Methods for Finishing Rubber Band Bracelets
While C-clips are the go-to method for most people, there are other ways to finish your rubber band bracelet. Here are a few alternatives:
Using S-Clips
S-clips are another popular option for closing rubber band bracelets. They work similarly to C-clips but have a slightly different shape. To use an S-clip, simply slide one end over the last row of bands and the other end over the first row. Twist it gently until it locks into place.
Double-Clipping
For extra security, you can use two C-clips instead of one. This method is great for larger or more intricate bracelets that need a bit more reinforcement. Just attach one clip to each end and connect them together.
No-Clip Method
If you’re feeling adventurous, you can try finishing your bracelet without any clips at all. This involves weaving the last row of rubber bands back into the first row to create a seamless loop. It takes some practice, but the end result is a clean, clip-free bracelet.
Tips for Making Your Rubber Band Bracelet Last Longer
Now that you know how to finish a rubber band bracelet, let’s talk about how to make it last. Here are a few tips to keep your creations looking fresh:
- Store your bracelets in a cool, dry place to prevent the rubber bands from stretching out.
- Avoid exposing your bracelets to heat or direct sunlight, as this can cause the rubber to degrade faster.
- If you notice a band starting to wear out, replace it immediately to prevent the whole bracelet from unraveling.
With a little care and maintenance, your rubber band bracelets can last for months—or even years!
How to Customize Your Rubber Band Bracelet
One of the coolest things about rubber band bracelets is how customizable they are. Whether you’re using different colors, patterns, or techniques, the possibilities are endless. Here are a few ideas to inspire your next creation:
- Create ombre effects by gradually transitioning from one color to another.
- Experiment with different weaving patterns, like chevrons or zigzags, to add visual interest.
- Add charms or beads to your bracelet for an extra touch of personality.
The key is to have fun and let your creativity shine. After all, that’s what crafting is all about!
Where to Find Inspiration for Your Next Rubber Band Bracelet
If you’re feeling stuck or need some inspiration, there are tons of resources out there to help you out. Check out crafting blogs, YouTube tutorials, and social media platforms like Pinterest for ideas and tips. You can also join online communities or forums where fellow bracelet enthusiasts share their work and offer advice.
And don’t forget to experiment on your own! Sometimes the best designs come from trying something new and seeing where it takes you.
Conclusion: Time to Get Crafting!
So there you have it—everything you need to know about how to finish a rubber band bracelet. From understanding the basics to mastering alternative methods, you’re now equipped to create stunning bracelets that will impress everyone who sees them.
Remember, practice makes perfect. The more you work with rubber band bracelets, the better you’ll get at finishing them. So grab your supplies, let your creativity run wild, and have fun!
And hey, don’t forget to share your creations with the world. Post photos of your finished bracelets on social media and tag me—I’d love to see what you come up with. Happy crafting!
Table of Contents
- Why Is Finishing a Rubber Band Bracelet Important?
- Tools You’ll Need to Finish a Rubber Band Bracelet
- Understanding the Basics of Rubber Band Bracelets
- Step-by-Step Guide to Finishing Your Bracelet
- Common Mistakes to Avoid When Finishing a Rubber Band Bracelet
- Alternative Methods for Finishing Rubber Band Bracelets
- Tips for Making Your Rubber Band Bracelet Last Longer
- How to Customize Your Rubber Band Bracelet
- Where to Find Inspiration for Your Next Rubber Band Bracelet
- Conclusion: Time to Get Crafting!